Sanity
Building an AI Content Workflow with Sanity CMS and n8n
Learn how to build a powerful Sanity n8n workflow that automates AI content generation, review gates, and document publishing—saving your team hours every week.

If you’ve ever wished your content pipeline could run itself — drafting articles, populating structured fields, routing for review, and publishing on schedule — you’re not alone. Modern content teams are turning to automation to reclaim their time, and the Sanity n8n workflow combination is one of the most powerful setups available today. In this tutorial, you’ll learn how to wire Sanity CMS together with n8n’s visual automation engine and AI nodes to build a fully automated, human-in-the-loop content pipeline from scratch.
Why Combine Sanity and n8n
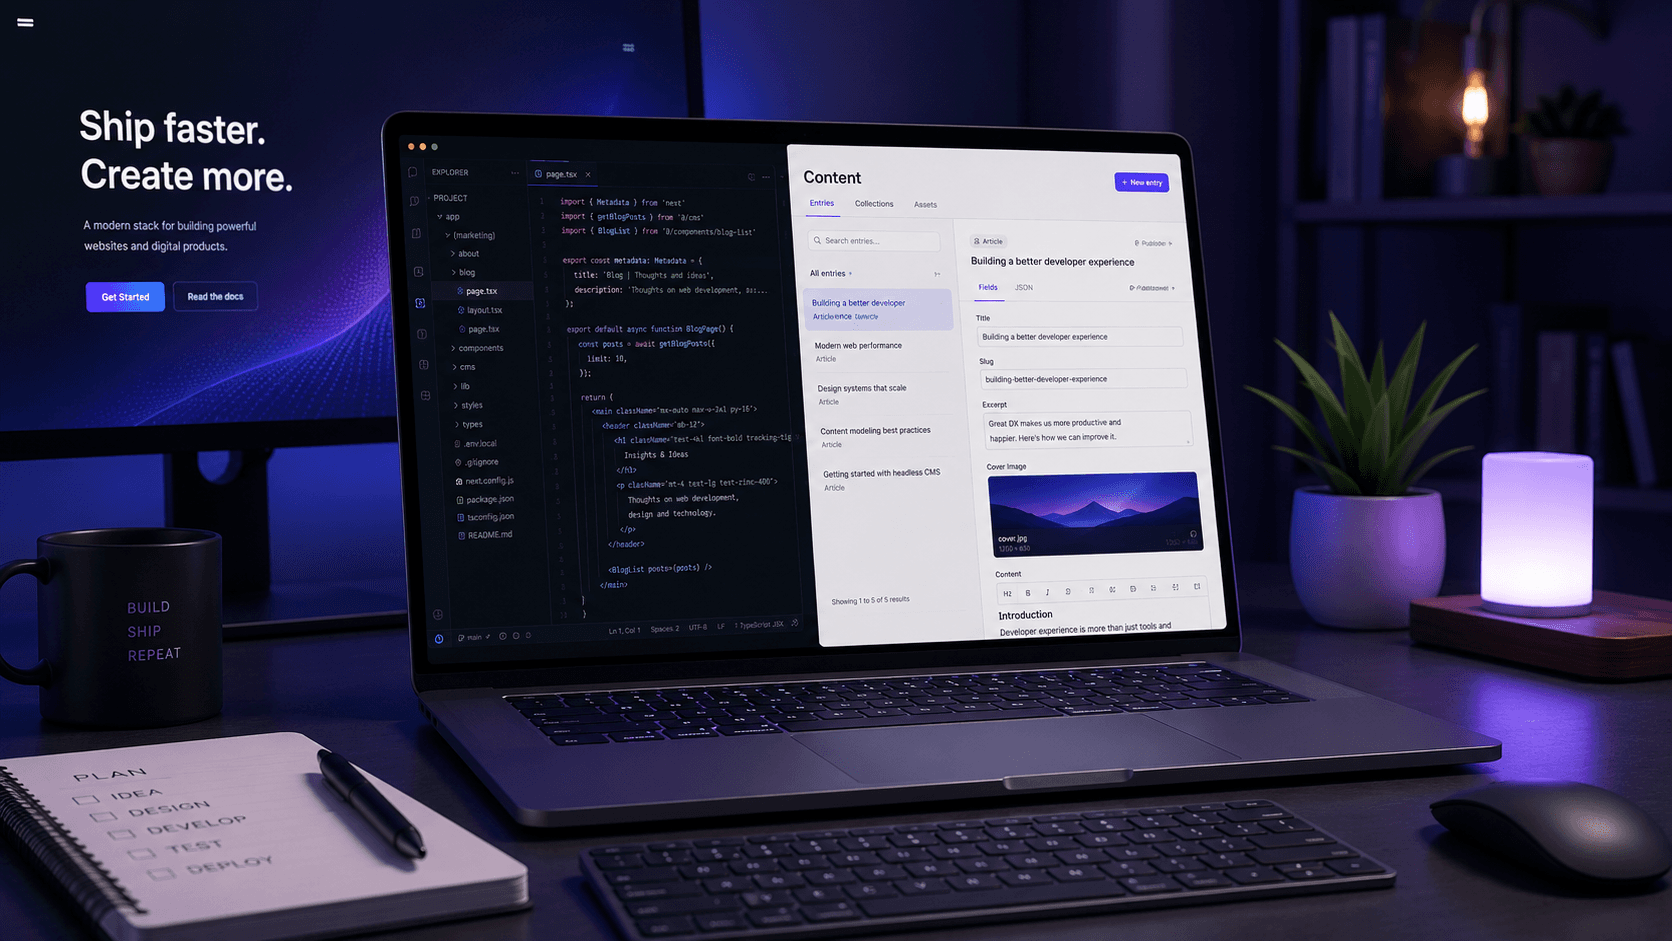
Sanity CMS is a headless content platform built around structured data. Every piece of content lives in a document with typed fields, references, and a real-time API — making it an ideal target for programmatic reads and writes. n8n, on the other hand, is an open-source workflow automation tool that lets you connect APIs, run code, and integrate AI models without writing a full backend service.
Together, they form a feedback loop: Sanity stores and serves your content, while n8n orchestrates the logic that creates, enriches, and routes it. You get the editorial control of a structured CMS with the automation power of a workflow engine.
The practical benefits are significant. Your team can define content templates in Sanity, trigger n8n workflows on document events, generate AI-assisted drafts, run them through approval gates, and publish — all without manual copy-pasting or context switching between tools. The result is a repeatable, auditable, scalable content operation.
Setting Up n8n with Sanity
Before building any workflows, you need both systems talking to each other. Start by deploying n8n — either self-hosted via Docker or using n8n Cloud. For most teams, the cloud option is the fastest path to production.
Next, generate a Sanity API token. In your Sanity project dashboard, navigate to API > Tokens and create a token with editor permissions. Copy this token — you’ll use it in every n8n node that communicates with Sanity.
In n8n, create a new Credential of type HTTP Header Auth. Set the header name to Authorization and the value to Bearer YOUR_TOKEN. Name it something descriptive like Sanity Production Token.
To verify the connection, create a simple workflow with an HTTP Request node. Set the method to GET and point the URL at your project’s query endpoint, using a GROQ query like *[_type=="post"][0..2]. Attach your Sanity credential and execute the node. If you see document data returned, your connection is working. From here, every subsequent workflow can reuse this credential.
Triggering Workflows from Sanity Events
A workflow that only runs on a schedule is useful, but a workflow that reacts to content events is powerful. Sanity supports webhooks natively, letting you fire HTTP requests whenever a document is created, updated, or deleted.
To configure a webhook, go to API > Webhooks in your Sanity project settings. Create a new webhook and point it at your n8n Webhook node URL. You can filter by document type — for example, only trigger when a post document is created — and include a GROQ filter like _type == "post" && !defined(body) to target only drafts that haven’t been written yet.
In n8n, add a Webhook trigger node. Set it to POST and copy the production URL into Sanity’s webhook configuration. When Sanity fires the webhook, n8n receives a payload containing the document _id, _type, and any changed fields.
Use a Set node immediately after the webhook to extract and normalize the fields you need — particularly documentId and title. These become the inputs for every downstream node in your workflow. Keeping this extraction step explicit makes your workflow easier to debug and maintain.
AI Content Generation Nodes in n8n
With a document ID and title in hand, you’re ready to generate content. n8n ships with first-class integrations for OpenAI, Anthropic, and other AI providers via the AI Agent and OpenAI nodes.
Add an OpenAI node configured for the chat resource. In the messages parameter, construct a system prompt that describes your brand voice and content standards, then a user message that includes the post title and any outline or keywords extracted from the Sanity document.
A well-structured prompt references the document title via $json.title and instructs the model to produce structured output with H2 headings, practical examples, and a developer-friendly tone. The node returns the generated text in $json.choices[0].message.content. Pipe this into a Code node to parse the markdown, extract sections, and map them to Sanity field values. For example, you might extract the first paragraph as the excerpt and the full body as the body field.
For more complex pipelines, consider using the AI Agent node with tool-calling enabled. You can give the agent a getSanityDocument tool and an updateSanityDocument tool, letting it autonomously fetch context and write back results — all within a single n8n node chain. This approach is especially powerful when the AI needs to reference existing content before generating new material.
Auto-Populating Sanity Documents via API
Once you have generated content, writing it back to Sanity is straightforward using the Mutations API. Sanity’s REST API accepts a mutations array that can create, patch, or delete documents in a single atomic request.
Add an HTTP Request node after your content generation step. Set the method to POST and target your project’s mutate endpoint at https://YOUR_PROJECT_ID.api.sanity.io/v2024-01-01/data/mutate/production. Attach your Sanity credential and set the body to a JSON object containing a mutations array. Each mutation object uses a patch key with the target document id and a set object containing the fields to update — for example, excerpt and body.
Note that the body field in Sanity expects Portable Text — a typed array of block objects — not raw markdown. Use a Code node before this step to convert your markdown output into valid Portable Text JSON. There are npm packages like @portabletext/toolkit that can help, or you can write a simple converter for the block types you use.
After the mutation succeeds, Sanity returns a transactionId and a list of affected document IDs. Store these in your workflow context for audit logging downstream.
Human Review and Approval Gates
Full automation is great for speed, but most editorial teams need a human checkpoint before content goes live. n8n makes it easy to insert approval gates using the Wait node combined with a notification step.
After writing the AI-generated draft to Sanity, add a Slack or Email node to notify your editorial team. Include a direct link to the Sanity Studio document so reviewers can open it with one click. The URL pattern follows your Studio’s desk structure, appending the document ID as a path parameter.
Then add a Wait node configured to pause the workflow until it receives a webhook callback. In Sanity Studio, you can add a custom action button — using the Studio’s useDocumentOperation hook — that fires a POST request to the n8n resume URL when an editor clicks Approve.
If the editor clicks Reject instead, the callback can include a status: "rejected" field. Add an IF node after the Wait to branch: approved documents continue to the publish step, while rejected ones trigger a revision loop or simply mark the document with a reviewStatus field set to needs_revision.
This pattern gives you the best of both worlds: AI speed with human judgment. The workflow is fully auditable — every approval or rejection is logged in n8n’s execution history with a timestamp and the editor’s identity.
Monitoring Workflow Health
As your Sanity n8n workflow handles more documents, monitoring becomes essential. A silent failure — a webhook that didn’t fire, an AI node that timed out, a mutation that was rejected — can leave documents in a broken half-populated state.
Start by enabling Error Workflows in n8n. In your workflow settings, designate a separate error-handling workflow that fires whenever an execution fails. This workflow should send an alert to Slack or PagerDuty with the execution ID, the failed node name, and the input data that caused the failure.
Next, add a reviewStatus field to your post schema in Sanity. Your n8n workflow should set this field at each stage: ai_generating, pending_review, approved, published. This gives you a real-time view of every document’s pipeline state directly inside Sanity Studio.
Finally, use n8n’s built-in execution log and consider exporting metrics to a monitoring tool via the HTTP Request node. Track metrics like average generation time, approval rate, and failure rate per workflow version. These numbers will guide your optimization efforts as the pipeline matures.
Common Mistakes
Even experienced developers run into predictable pitfalls when building this kind of pipeline. Here are the most common ones to avoid.
Forgetting draft vs. published document IDs. Sanity uses a drafts. prefix for unpublished documents. If your webhook fires on a draft event, the document ID will be drafts.abc123, not abc123. Make sure your mutation targets the correct ID, or use the publish mutation to promote a draft to published in one step.
Sending raw markdown to the body field. Sanity’s body field expects Portable Text, not a markdown string. Sending a raw string will either fail validation or render as a single unstyled text block. Always convert markdown to Portable Text before writing.
Not handling webhook retries. Sanity will retry a webhook if it doesn’t receive a 2xx response within the timeout window. If your n8n workflow takes longer than expected, Sanity may fire the webhook multiple times, triggering duplicate AI generations. Use an IF node at the start of your workflow to check whether the document already has content before proceeding.
Hardcoding API versions. Sanity’s API is versioned by date — for example, v2024-01-01. Hardcoding an old version in your HTTP Request nodes can cause subtle breakage when fields or behaviors change. Store the API version in an n8n Environment Variable so you can update it in one place.
Best Practices
Building a robust Sanity n8n workflow requires more than just connecting nodes. These practices will save you significant debugging time.
Use GROQ projections to minimize payload size. When fetching documents from Sanity, always project only the fields you need. Fetching entire documents — especially those with large body arrays — wastes bandwidth and slows your workflow.
Version your workflows. n8n supports workflow versioning. Before making changes to a production workflow, duplicate it and test in a staging environment connected to a Sanity development dataset. Never iterate on a live workflow that’s processing real content.
Store secrets in n8n credentials, never in node parameters. API tokens, webhook secrets, and AI API keys should always live in n8n’s encrypted credential store. Hardcoding them in node parameters exposes them in execution logs.
Add idempotency checks. Every workflow that writes to Sanity should check whether the target fields are already populated before overwriting them. A simple GROQ query at the start of the workflow prevents accidental overwrites during retries or duplicate webhook deliveries.
Document your workflows. Use n8n’s Sticky Note nodes to annotate complex logic. Future you — and your teammates — will thank you when debugging a workflow at 2am.
FAQ
What version of n8n do I need to use the AI Agent node?
The AI Agent node was introduced in n8n version 1.19.0. If you’re self-hosting, make sure you’re running at least this version. n8n Cloud users are always on the latest release, so no action is needed there.
Can I use this workflow with Sanity’s free tier?
Yes. Sanity’s free tier includes API access and webhooks, which are all you need to follow this tutorial. The only limitation is the number of API requests per month — for high-volume pipelines, you may need to upgrade to a paid plan.
How do I handle images in the AI-generated content?
Images require a separate step. After generating text content, you can use n8n’s HTTP Request node to call an image generation API, download the result, and upload it to Sanity’s asset pipeline. Store the returned asset _id as a reference in your document’s mainImage field.
Is it possible to trigger the workflow from inside Sanity Studio?
Absolutely. You can add a custom document action in Sanity Studio using the defineDocumentAction API. The action button calls your n8n webhook URL directly from the browser, passing the current document ID and any relevant fields. This gives editors a one-click Generate with AI button right inside the Studio interface.
What’s the best way to handle rate limits from AI providers?
Use n8n’s Wait node to introduce deliberate delays between AI calls when processing batches of documents. For OpenAI, implement exponential backoff by catching 429 errors in an IF node and looping back with an increasing wait time. Storing a retryCount variable in the workflow context makes this pattern straightforward to implement.
Conclusion
Building a Sanity n8n workflow for AI content automation is one of the highest-leverage investments a content engineering team can make. By connecting Sanity’s structured content model with n8n’s flexible automation engine and modern AI APIs, you can go from a content brief to a reviewed, published article with minimal manual effort.
The architecture we’ve covered — webhook triggers, AI generation nodes, Portable Text conversion, human approval gates, and health monitoring — gives you a production-ready foundation. Start with a single content type, prove the value, and then expand the pipeline to cover more document types, more AI models, and more complex editorial workflows.
The tools are mature, the APIs are stable, and the productivity gains are real. Now it’s time to build.